No headline found
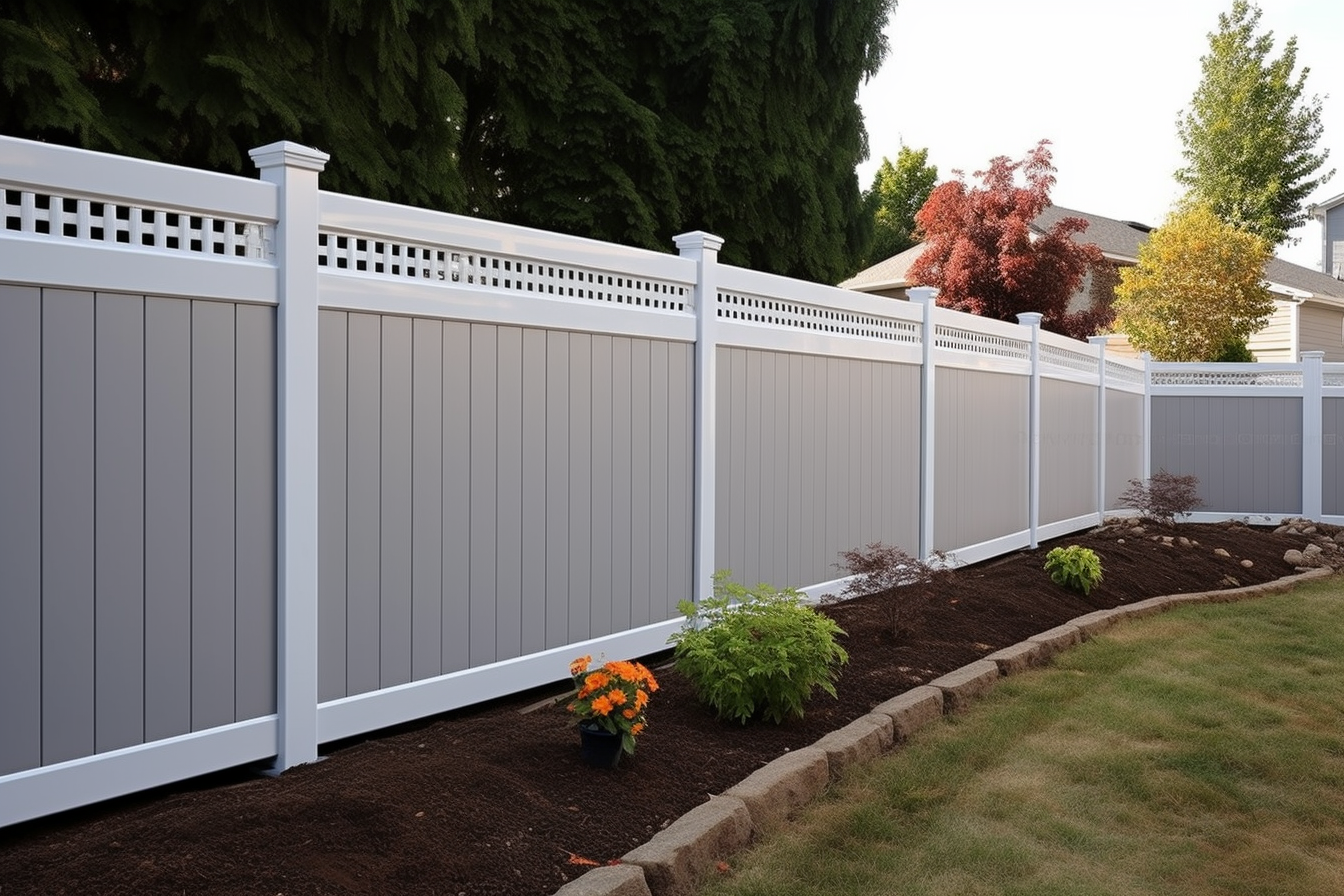
Vinyl fencing, made from polyvinyl chloride (PVC), offers numerous advantages over traditional fencing materials. Its durability is perhaps its most appealing quality—quality vinyl fences can last 20-30 years with minimal maintenance. Unlike wood, vinyl won’t splinter, crack, or fade significantly over time. It’s also impervious to insects and resistant to mold and mildew. Vinyl fencing comes in various styles, from privacy panels to picket designs, and in multiple colors, though white and tan remain the most common options. While the upfront cost exceeds that of wood, the long-term savings on maintenance and replacement make vinyl increasingly attractive for homeowners seeking lasting solutions.

Vinyl fencing has become increasingly popular among homeowners seeking an attractive, durable alternative to wood or metal options. The material resists rot, insects, and weather damage while requiring minimal upkeep over its lifespan. With proper planning and the right approach, installing a vinyl fence can be a manageable weekend project that adds value and functionality to your property.
Introduction to Vinyl Fencing
Vinyl fencing consists of PVC (polyvinyl chloride) panels and posts designed to mimic the appearance of traditional wood fencing without the associated maintenance challenges. Available in various styles including privacy, picket, and ranch rail designs, vinyl fences come in multiple colors, though white and tan remain the most popular choices. The material withstands extreme temperatures, resists fading from UV exposure, and maintains its appearance for decades. Unlike wood, vinyl never requires painting or staining, and cleaning typically involves nothing more than soap and water. Most vinyl fence systems use interlocking components that simplify installation, making them accessible to homeowners with basic carpentry skills and tools.
Gathering Your Materials and Tools
Before beginning your installation, compile all necessary materials and tools to avoid mid-project delays. You’ll need vinyl fence panels, posts, post caps, rails, and brackets according to your fence design and property measurements. Essential tools include a post hole digger or power auger, level, tape measure, string line, stakes, and a rubber mallet. You’ll also require concrete mix for securing posts, a mixing container or wheelbarrow, and safety equipment including gloves and eye protection. Depending on your terrain, a circular saw or hacksaw may be necessary for cutting panels to size. Many suppliers offer complete fence kits that include all components, which can simplify the purchasing process and ensure compatibility between parts. Check local building codes and obtain necessary permits before purchasing materials, as regulations vary by municipality and may affect fence height, setback requirements, and placement restrictions.
Planning and Preparation
Proper planning prevents costly mistakes and ensures your fence meets both functional and aesthetic goals. Begin by surveying your property lines using existing markers or hiring a professional surveyor if boundaries are unclear. Mark your fence line with stakes and string, ensuring the path is straight and accounts for any gates or access points. Contact local utility companies to mark underground lines before digging, a free service in most areas that prevents dangerous and expensive accidents. Measure the total fence length and calculate the number of posts needed, typically spaced six to eight feet apart depending on your fence style and manufacturer recommendations. Account for corner posts, end posts, and gate posts, which may require different specifications than line posts. Clear the fence line of vegetation, rocks, and debris, and consider grading issues that might affect post depth or panel alignment. Creating a detailed diagram with measurements helps visualize the finished project and serves as a reference during installation.
Installing the Fence Posts
Post installation forms the foundation of your fence and requires careful attention to ensure stability and alignment. Begin with corner and end posts, as these anchor the entire fence line. Dig post holes approximately one-third the height of the above-ground post plus six inches for gravel, typically resulting in holes 24 to 30 inches deep for a six-foot fence. The hole diameter should be three times the post width to accommodate concrete. Add six inches of gravel to each hole for drainage before inserting posts. Use a level to ensure each post stands perfectly vertical in both directions, and brace it temporarily with stakes and boards. Mix concrete according to package directions and pour around the post, filling to slightly above ground level and sloping away from the post to direct water runoff. Allow concrete to cure for at least 24 hours before proceeding. String a line between corner posts at the desired fence height to guide placement of line posts, ensuring consistent alignment throughout your fence. Repeat the digging, setting, and concrete process for each line post, maintaining proper spacing and checking alignment frequently.
Attaching the Vinyl Fence Panels
Once posts are secure and concrete has fully cured, you can begin attaching fence panels. Most vinyl fence systems use either a rail-and-picket design or pre-assembled panels that slide into routed post channels. For rail systems, insert horizontal rails into brackets or slots on adjacent posts, then slide individual pickets into the rail channels. Pre-assembled panels typically feature rails with attached pickets that insert directly into post grooves. Start at a corner or end post and work systematically along the fence line. Use a level to ensure each panel remains plumb and adjust as needed before securing. Some systems require screws or brackets to lock panels in place, while others rely on friction fit. A rubber mallet helps seat panels firmly without damaging the vinyl. For uneven terrain, you may need to step panels or rake them to follow ground contours, adjusting rail positions within posts accordingly. Install post caps on all posts to prevent water infiltration and provide a finished appearance. Check alignment and stability as you progress, making adjustments before moving to the next section. Once all panels are installed, walk the fence line to verify secure connections and proper alignment throughout.
Maintenance and Long-Term Care
One of vinyl fencing’s primary advantages is its minimal maintenance requirements compared to other materials. Regular cleaning with a garden hose removes dirt and debris, while stubborn stains respond to mild soap and water or specialized vinyl fence cleaners. Avoid abrasive cleaners or tools that might scratch the surface. Inspect your fence periodically for loose panels, damaged components, or posts that may have shifted, addressing issues promptly to prevent further damage. While vinyl resists most weather conditions, extreme impacts can crack or break panels, and replacement sections are typically available from manufacturers. Most quality vinyl fences carry warranties ranging from 20 years to lifetime coverage, providing peace of mind about your investment. The fence’s color remains stable without fading, eliminating the need for painting or staining that wood fences require every few years. With proper installation and occasional inspection, a vinyl fence provides decades of reliable service while maintaining its attractive appearance and structural integrity.
Installing a vinyl fence offers homeowners a practical way to enhance property privacy, security, and curb appeal without committing to ongoing maintenance. By following systematic steps from planning through installation, you can achieve professional results that provide lasting value. The combination of durable materials, straightforward installation processes, and minimal upkeep makes vinyl fencing an excellent choice for properties of all sizes and styles.


