DIY Vinyl Fence Installation: A Complete Guide for Homeowners
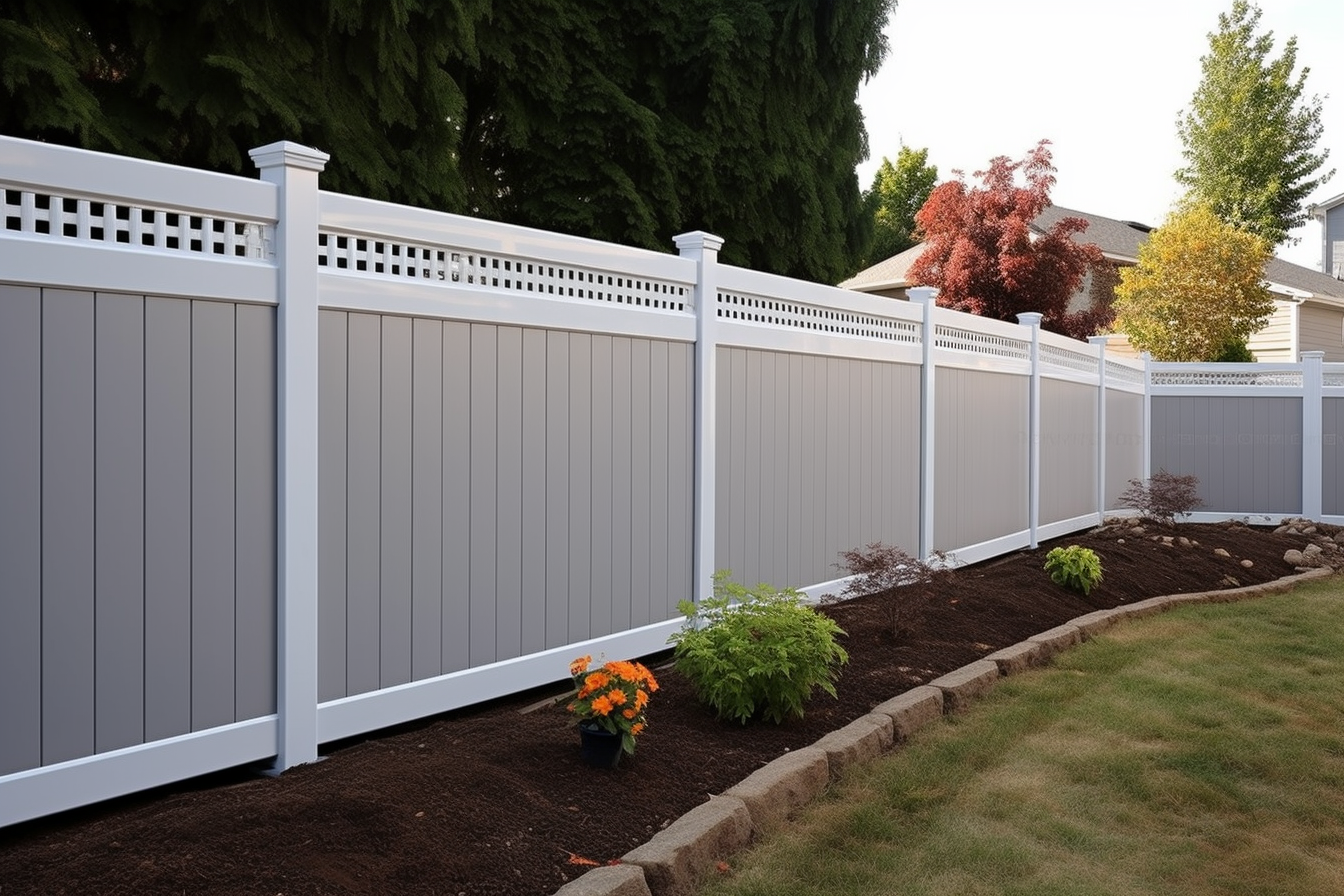
Vinyl fencing, made from polyvinyl chloride (PVC), offers numerous advantages over traditional fencing materials. Its durability is perhaps its most appealing quality—quality vinyl fences can last 20-30 years with minimal maintenance. Unlike wood, vinyl won’t splinter, crack, or fade significantly over time. It’s also impervious to insects and resistant to mold and mildew. Vinyl fencing comes in various styles, from privacy panels to picket designs, and in multiple colors, though white and tan remain the most common options. While the upfront cost exceeds that of wood, the long-term savings on maintenance and replacement make vinyl increasingly attractive for homeowners seeking lasting solutions.

Introduction to Vinyl Fencing
Vinyl fencing has become increasingly popular among homeowners due to its durability, low maintenance requirements, and aesthetic versatility. Unlike wood fencing that requires regular staining or painting, vinyl maintains its appearance for years with minimal upkeep. Available in various styles including privacy panels, picket designs, and ranch rail configurations, vinyl fencing suits diverse property needs and architectural preferences.
The material itself consists of polyvinyl chloride (PVC), engineered to withstand weather extremes, resist fading, and avoid common issues like rotting, warping, or insect damage. Most vinyl fencing products come with warranties ranging from 20 to 30 years, making them a long-term investment for residential properties. Understanding the characteristics of vinyl fencing helps you make informed decisions about style selection, color options, and height requirements based on your specific property layout and local regulations.
Gathering Your Materials and Tools
Successful fence installation begins with assembling the right materials and tools before breaking ground. Essential materials include vinyl fence panels, posts, post caps, rail brackets, screws or fasteners designed for vinyl, concrete mix, and gravel for drainage. Purchase approximately 10 percent more materials than your measurements indicate to account for cutting errors or unexpected adjustments during installation.
The tool list should include a post hole digger or auger, level (both standard and line levels), tape measure, string line, stakes, circular saw or handsaw suitable for cutting vinyl, drill with appropriate bits, rubber mallet, wheelbarrow for mixing concrete, and safety equipment including gloves and eye protection. Some installers find a laser level helpful for ensuring consistent post heights across uneven terrain. Having all materials and tools readily available prevents project delays and maintains installation momentum throughout the process.
Planning and Preparation
Proper planning determines the success of your vinyl fence installation. Begin by checking local building codes and homeowner association regulations regarding fence height, setback requirements, and permit needs. Many municipalities require permits for fences exceeding certain heights, typically around six feet. Contact utility companies to mark underground lines before digging, a critical safety step that prevents costly damage and potential hazards.
Measure your property boundaries accurately and mark the fence line using stakes and string. Walk the perimeter to identify obstacles like trees, slopes, or existing structures that may require adjustments to your layout. Determine gate locations based on access needs for lawn equipment, vehicles, or foot traffic. Calculate the number of posts needed by dividing the total fence length by the standard panel width, usually six or eight feet, then add corner and gate posts to your count. Creating a detailed diagram with measurements ensures you purchase correct quantities and helps visualize the finished project.
Installing the Fence Posts
Fence posts provide structural integrity for the entire installation, making proper placement and securing essential. Mark post locations along your string line, ensuring consistent spacing that matches your panel widths. Dig post holes using a post hole digger or power auger, creating holes approximately one-third the height of the above-ground post depth. For a six-foot fence, dig holes about 30 inches deep and 10 to 12 inches in diameter.
Place several inches of gravel at the bottom of each hole for drainage, which prevents water accumulation that could compromise post stability. Set the first corner post in its hole, using a level to ensure it stands perfectly vertical in all directions. Brace the post temporarily with wooden stakes and supports. Mix concrete according to manufacturer instructions and pour it around the post, leaving about four inches at the top for soil cover. Repeat this process for all posts, using a string line stretched between corner posts to maintain consistent height and alignment. Allow concrete to cure for at least 24 to 48 hours before attaching panels, ensuring posts remain firmly anchored.
Attaching the Vinyl Fence Panels
Once posts have cured and stand securely, begin attaching vinyl fence panels starting from a corner or gate location. Most vinyl fencing systems use a rail-and-bracket design where horizontal rails slide into routed channels in the posts. Insert the bottom rail into the post bracket or channel first, then work upward to the top rail, ensuring each rail sits level before proceeding.
Slide fence pickets or panels into the rail channels, checking that they fit snugly without forcing. Some systems require screws to secure rails to posts, while others rely on friction-fit designs. Use a rubber mallet to gently tap panels into place if needed, avoiding excessive force that could crack the vinyl. Install post caps on each post to prevent water infiltration and provide a finished appearance. For gates, follow manufacturer instructions for hinge and latch placement, ensuring the gate swings freely and latches securely. Walk the fence line after installation to verify all panels align properly, posts stand vertical, and no gaps exist between components.
Maintenance and Long-Term Care
Vinyl fencing requires minimal maintenance compared to traditional materials, but periodic attention extends its lifespan and preserves appearance. Clean your fence annually using a garden hose and mild soap solution to remove dirt, pollen, and environmental debris. For stubborn stains or mildew, use a soft brush with a vinyl-safe cleaner, avoiding abrasive materials that could scratch the surface.
Inspect your fence periodically for loose panels, damaged posts, or hardware that needs tightening. Address minor issues promptly to prevent them from becoming major repairs. While vinyl resists most weather conditions, extreme temperature fluctuations can cause slight expansion and contraction. Ensure panels have adequate room for this natural movement during installation. Trim vegetation growing near the fence to prevent moisture accumulation and maintain proper airflow around posts and panels. With proper installation and basic care, your vinyl fence will provide years of reliable service while maintaining its original appearance and structural integrity.


